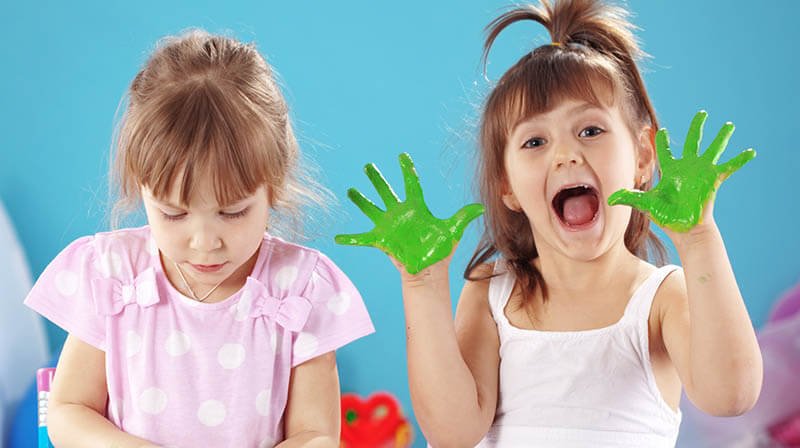
Babies naturally love messy play. They touch, smear, and explore everything around them with curiosity. But when it comes to painting activities, many parents worry about safety because little ones often put their fingers in their mouths.
A simple solution is using food-based paints made from natural ingredients. These paints are safe if tasted and still give babies the chance to enjoy colorful sensory play. With a few fruits or vegetable purees from your kitchen, you can quickly prepare bright, soft textures that are perfect for tiny hands.
If you’re a busy mom like me, this simple Edible Finger Painting Craft activity can be a great way to keep your little one happily engaged while your busy. Let’s explore why busy moms most likes this type of activities and how you can safely try it for your little one.
What Is Edible Finger Painting for Babies?
Edible finger painting is a simple art activity where babies play with paints which are made from safe food-based ingredients. Instead of using regular paints, parents use their favourite things like fruit or vegetable purees to create soft and colorful textures that babies can touch and spread on paper or a tray.
Since the colors come from foods, it’s completely safe if a baby tastes the paint while exploring. This makes it a stress-free way to introduce messy play at an early age. Babies can freely smear, tap, and mix the colors while discovering new textures and movements with their hands.
Why Is It a Great Activity for Babies?
This activity is more than just messy fun. When babies move their fingers through the soft paint, they practice simple hand movements that support early motor skill development. At the same time, the bright colors and textures make the experience exciting and naturally spark their curiosity.
It can also keep little ones happily engaged for a while. If you’re a busy mother, setting up this simple activity can give your baby something fun to explore while you take care of small tasks nearby.
Ingredients Needed for Edible Finger Paint
It is super simple to making safe and colorful finger paints for your baby. You don’t need anything fancy just common foods from your kitchen.

Here’s what you’ll need:
Fruits and vegetables like bananas, strawberries, blueberries, spinach, or carrots for natural colors.
Plain yogurt or applesauce to create a smooth, spreadable texture.
Optional: A little cornstarch or oat flour to thicken the paint if it’s too runny.
That’s it! Just a few ingredients are enough to make soft, vibrant paints that are completely safe for babies to touch and even taste. You can mix and match colors to create fun combinations for sensory play.
My Favourite Fruits and Vegetables for Natural Colors
You can choose whichever colors your baby enjoys the most. My 9-month-old daughter loves all of these, so I’m sharing them with you, you can try them with your little one too.
- Red: Strawberries, raspberries, or beetroot puree
- Yellow & Orange: Carrots, pumpkin, or mango
- Green: Spinach, peas, or zucchini
- Purple: Blueberries or purple cabbage
If you want Top 18 DIY Craft ideas for kids that can be easily done at home explore here.
Step-by-Step Guide to Making Edible Finger Paint
Making safe and colorful finger paints for your baby is quick and much easy. If you are trying this one for first time don’t worry just follow these simple steps and you will done in minutes.

Step 1 : Choose Your Ingredients – Pick soft fruits or vegetables for colors (like strawberries, carrots, spinach, or blueberries) and a base like yogurt or applesauce.
Step 2 : Prepare the Puree – Wash, peel (if needed), and blend the fruits or vegetables until smooth.
Step 3 : Mix with Base – Combine the puree with yogurt or applesauce to get a spreadable texture. Add a little cornstarch or oat flour if it’s too runny.
Step 4 : Divide and Color – If you want multiple colors, divide the mixture into small bowls and use different fruits or veggies for each.
Step 5 : Serve Safely – Spread the paints on a tray, plate, or thick paper. Make sure your baby has easy access and can explore safely.
That’s it! In just a few minutes, you’ll have soft colorful and safe paints ready for your baby to enjoy. This step-by-step approach keeps things simple, clean, and perfect for tiny hands.
Learn how to make friendship bracelet with beads at home.
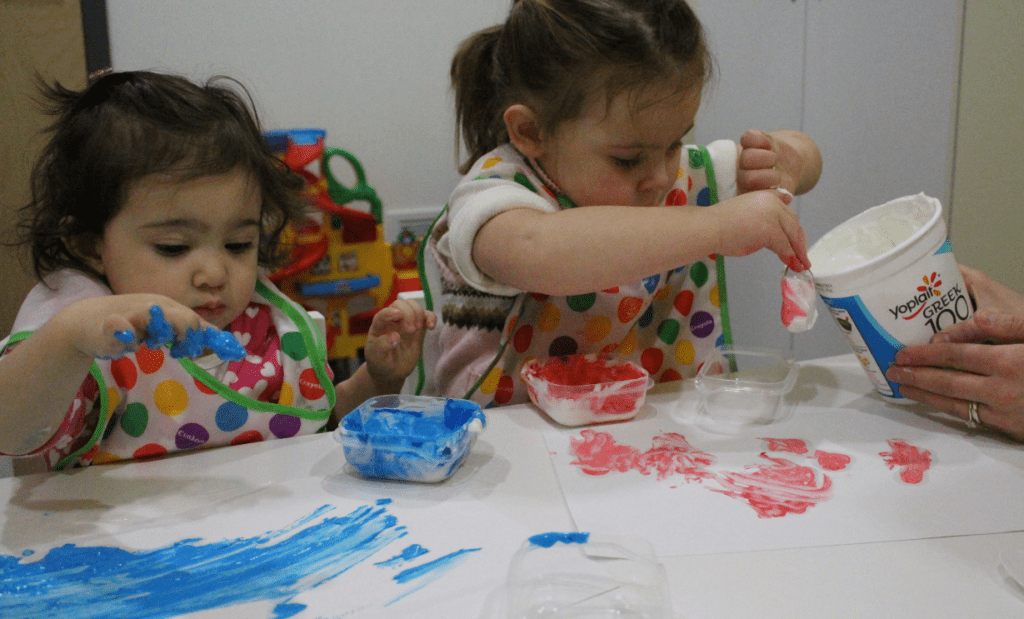
Easy Setup for Edible Finger Painting at Home
It’s setup is so much simple here’s how you can do it easily:

- Protect the Surface – Lay down a plastic sheet, old newspaper, or use a highchair tray to keep things clean and easy to wipe.
- Dress Your Baby – Put on a bib, apron, or old clothes so the paint doesn’t stain their outfit.
- Prepare the Paints – Place the edible paints in small, shallow bowls or plates so your baby can reach them easily.
- Set Up the Canvas – Use thick paper, a baking sheet, or the highchair tray as the painting surface. This makes it easy for your baby to smear and explore.
- Supervise Closely – Stay nearby to ensure your baby is safe while exploring the paints.
- Optional Tools – You can offer small brushes or spatulas, but fingers are usually the best tools for little hands.
With these simple steps, your baby can enjoy a colorful, sensory playtime safely while you have a few minutes to handle small tasks nearby.
Safety Tips for Babies During Finger Painting
Even though edible finger paints are safe, it’s important to keep a few precautions in mind while your baby explores:
- Always Supervise – Stay close to your baby during the activity to make sure they don’t put large amounts of food in their mouth.
- Check Ingredients – Use fruits or vegetables your baby has already tried to avoid allergic reactions.
- Keep Small Items Away – Remove anything small that your baby could accidentally swallow while painting.
- Clean Hands Often – Have wipes or a damp cloth handy to clean hands and surfaces as needed.
- Avoid Slippery Surfaces – Make sure the painting area is safe and non-slippery to prevent falls or accidents.
If you want to know how to make Melted Crayon Butterflies Craft check our step by step guide.
Fun Variations for Edible Finger Paint
You can easily make finger painting more exciting by trying a few simple variations. Trying different ways for mixing different textures and colors can keep your baby curious and happily engaged. These little variations keep the activity interesting each time.
Here are some fun ideas to try:
- Frozen Paint Cubes: Freeze paints in ice cube trays for a cold, soft texture that adds a new sensory experience.
- Layered Colors: Mix different colors in the same tray so your baby can explore new shades as they smear.
- Natural Textures: Add a little finely ground oatmeal or crushed cereal to give subtle textures for tactile play.
- Stamping Shapes: Use cookie cutters or bottle caps to create simple shapes on the paper.
- Mixing Colors: Encourage your baby to combine two or three colors to see what new shades they create.
Enjoy Creative Playtime with Your Baby
Edible finger painting is a simple and safe way to introduce your little one to colors, textures, and creative play. With just a few natural ingredients and a little setup, you can turn ordinary playtime into an exciting sensory experience.
This activity not only keep your baby happily engaged, but it also encourages curiosity, hand movements, and early learning all while being safe to taste and explore. Whether you try different colors, textures, or frozen paint cubes every session can be a new adventure.